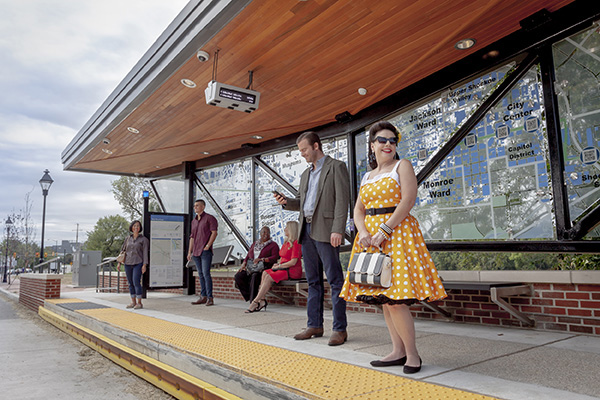
Waiting for the Bus
GRTC buses stop exclusively at bus stops – or in the case of the Pulse – bus stations. When riding, be sure to arrive 5 minutes before the scheduled departure.
Where possible, please be sure to wait on the sidewalk, and allow the bus to come to a complete stop before boarding.
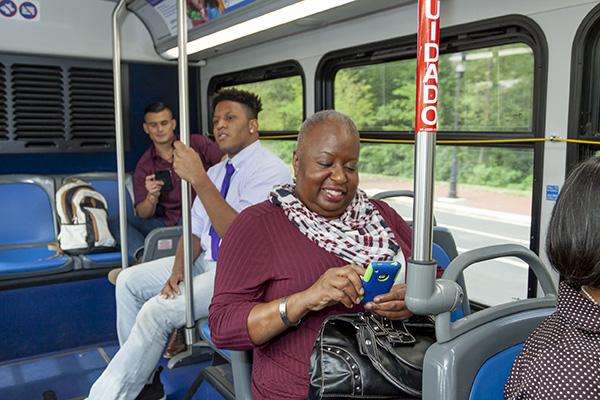
Riding the Bus
All buses are Zero Fare. You may enter at any open door.
Once on board, grab a seat or a handrail and enjoy our onboard WI-FI and charging ports, while keeping an eye on your trip via our onboard real-time information screens.
Please be sure to respect the priority seating area in the front of the bus. Priority seating is reserved for people with disabilities, seniors, pregnant people, and adults carrying young children.
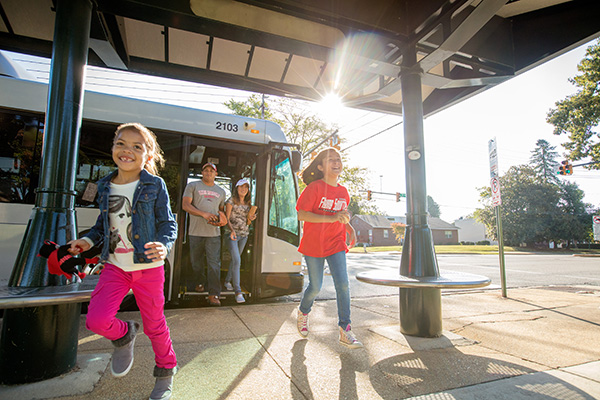
When Approaching Your Destination
When the bus is approaching your stop, please use the yellow cord or stop button to request a stop. The bus will say and display “Stop Requested” to confirm your request.
Please wait for the bus to come to a complete stop and use handrails while exiting the bus.
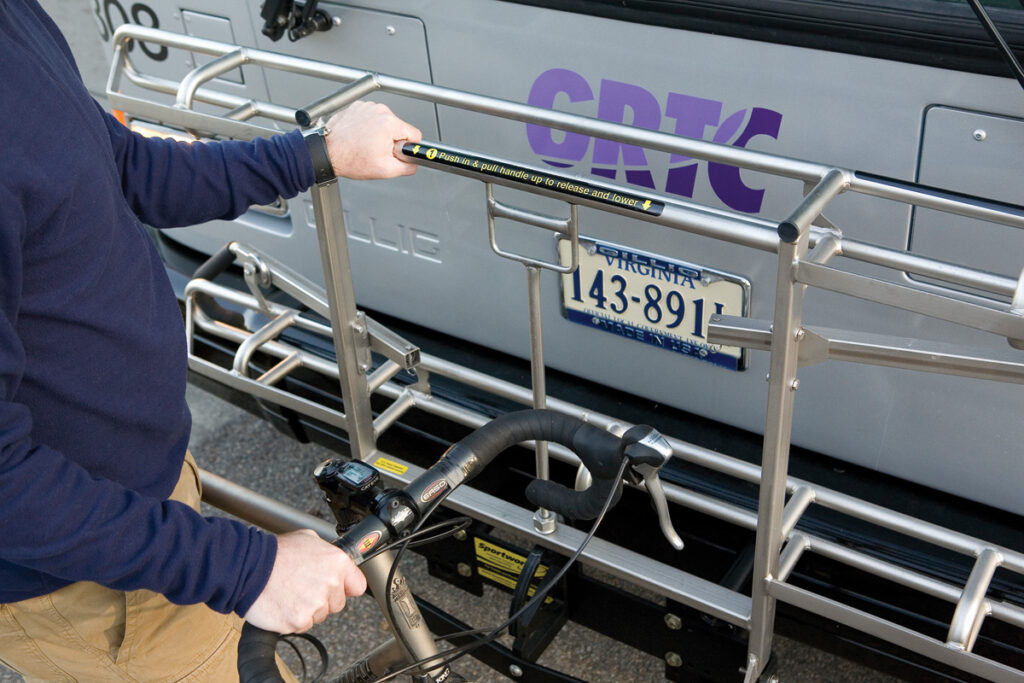
Releasing the Bike Rack
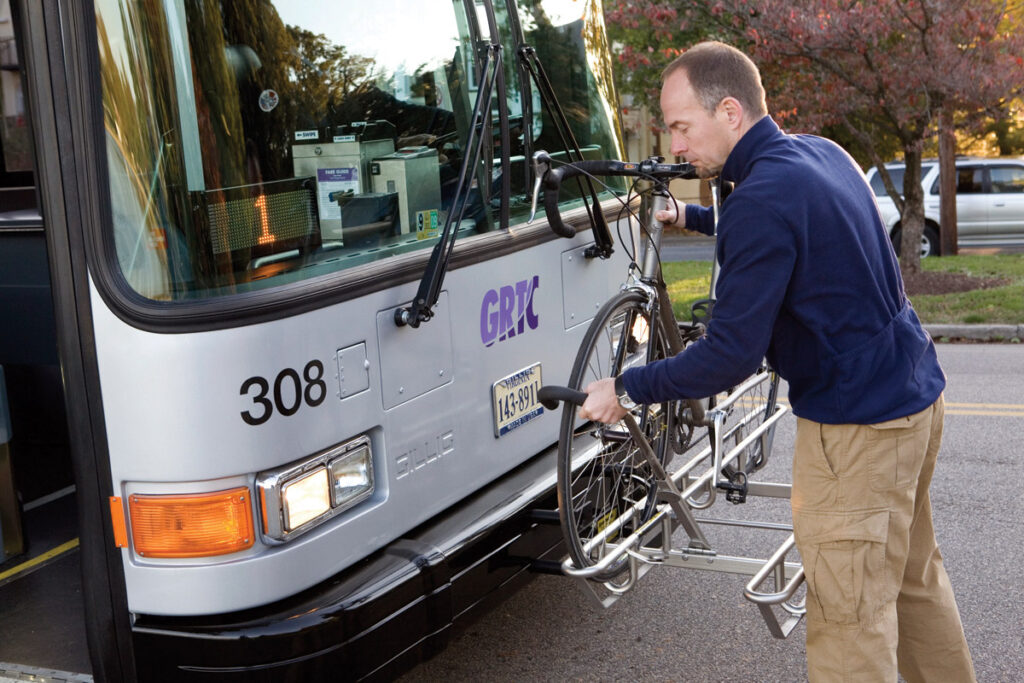
When approaching the bus to install your bike, notice the directions for proper usage are located on the rack itself at the front bumper.
To release the mechanism, you must squeeze the lever in the center of the rack so that it will release and allow you to unfold the rack for bike storage.
Securing Your Bike
Place the bike into position on the rack. Remember to make sure the security bar is attached to the bike’s front tire to hold it into place.
Removing Your Bike
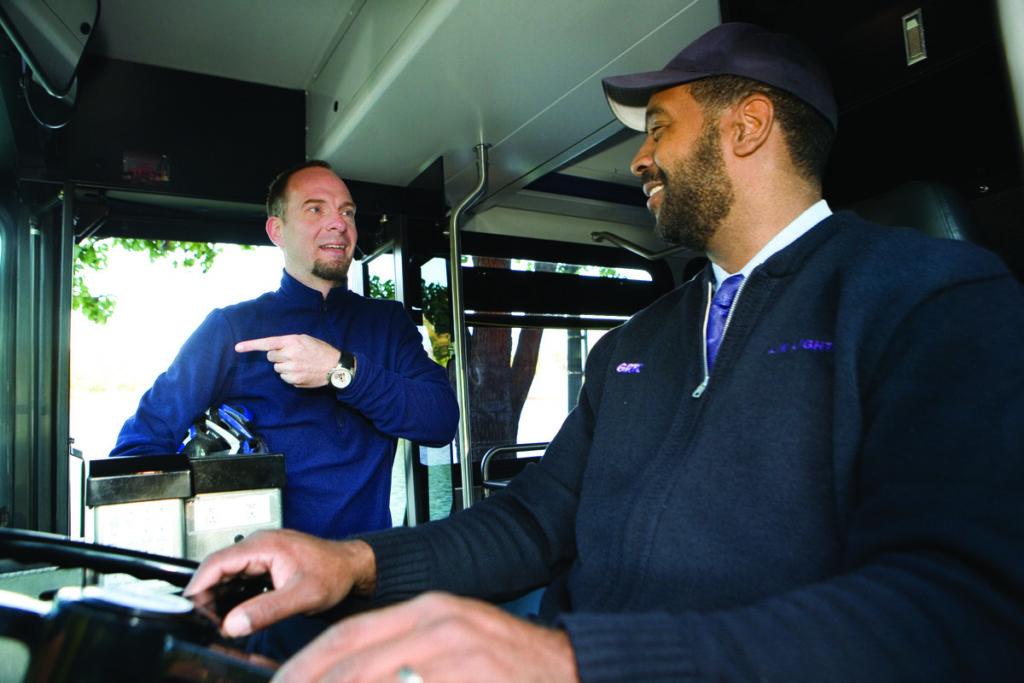
Inform the Operator when exiting the bus that you need to remove your bike from the rack.
Remove the lever from the front tire of your bike.
Fold the rack back in into the upright position, make sure the rack locks into place.
Watch for oncoming traffic as you depart.
Standard GRTC bus bike racks can accommodate two bikes with tires up to 2 1/4 inches wide and bikes up to 61 inches long; Pulse bike racks are larger and can accommodate three bikes with tires up to 3 1/4 inches wide and bikes up to 80 inches long.
For more information, please contact Customer Service

